
Table of Contents
Manage My Tix
Manage My Tix is your one-stop-shop for all your ticketing reports, you can find it here!
Your login details can be found on the 'Reports' tab on your 'My Festival' dashboard (right here!)
It will look something like this:
USERNAME: COM1234
PASSWORD: youremailaddress@emails.com.au
Create a Ticket Report
Now that you are in, you will want to know if you have sold any tickets. There are a few different financial reports and they will all provide different information for you. There is a list of all the reports and what information they provide at the bottom of this document.
Today we will look at generating the 'Adelaide Fringe Box Office Settlement' report. This will give you a good overview of your sales. Please note: If you receive a report warning that says 'Report parameters returned no matching data then it means a) You have put too many parameters on your search function or b) You haven't sold any tickets yet. If you need support or are unsure, please contact ticketing@adelaidefringe.com.au or call 08 8100 2012.
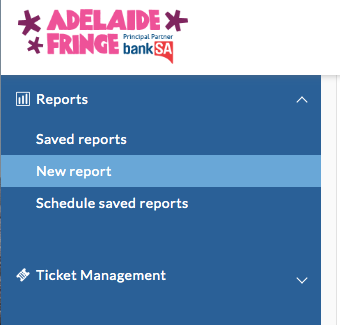
Step 1
Step 2
On the left-hand side click on 'New Report'
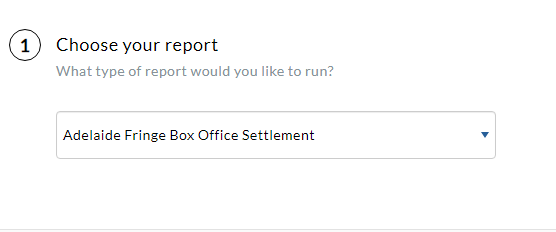
Step 3
Select the report you want, for example 'Adelaide Fringe Box Office Settlement'
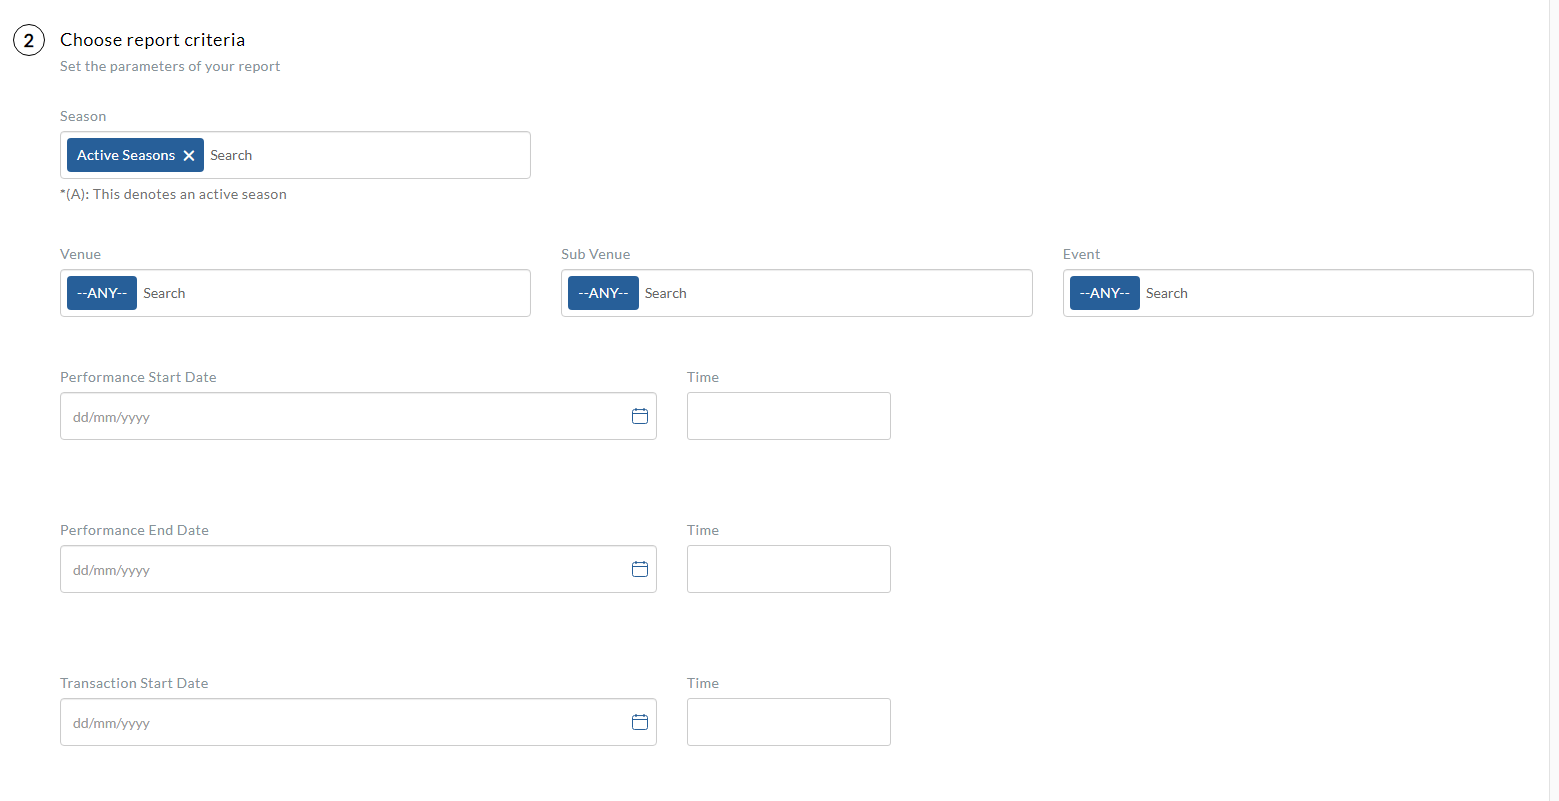
Step 4
Choose your report parameters.
*If you are just presenting one event, you can leave all these parameters as they are (blank) - this will give you a full overview of your sales.
If you have multiple events or want to know your sales for just one session, then you may want to use the filter function. You can filter by the venue, subvene, event and session.
Step 5
Your report will download to your computer.
Want to read more about how to pull your door list or schedule a report? Check out this resource.
Which report pulls what?
|
Report Name |
Information |
Tips |
|
Adelaide Fringe Box Office Settlement |
Displays your earnings, minus any fees. It givesyou a comprehensive overview of all your earnings. |
The best report to use to get a full picture of your financials |
|
Adelaide Fringe Full Sales Breakdown |
Lists your total tickets sold, the total dollar value of the ticket and the type of ticket purchased |
No. tickets sold, $ value & ticket type |
|
Adelaide Fringe Presenter Comp Reason |
Lists the presenter comps you have issued |
All your comps in one place |
|
Customer Performance Access Information |
Lists customers who have access needs. Specifically contains (any assigned access categories, performance access notes, and transaction access notes entered at the time of booking). It also displays tickets purchased for W/C users and the W/C Capacity Policy. |
Use a 'Seat Listing with Access Requirements' report if you would like this info integrated into a door list type report |
|
Customer Listing Email Export by Company |
Gives you your customer data for all customers who have opted-in to be contacted by you. Due to privacy laws, you will only be able to view private contact info for customers who have agreed to let you access it |
Use this for all your EDM needs |
|
Customers by Concession |
Gives you the concessions purchased for your event, eg. Concession, Fringe Member, Midweek Treat, Family etc |
See how your ticketing types are selling |
|
Full Sales |
Displays the amount of Full Price, Concession, and Comp tickets sold. It will give you the single ticket value and the total value |
Great overview of your earnings. (used in our example above) |
|
Promo Code Concessions / Promo Code Ticket Offer |
This will list for you any tickets sold that have had a promo code applied to them |
Depending on the type of promo code you have requested, it will be set up as a concession or ticket offer. You may need to pull both reports. |
|
Sales Summary |
Gives you the total tickets sold and dollar value |
Tickets sold & money |
|
Seat Listing |
This is your door list without access notes |
We recommend using Seat Listing with Access requirements
|
|
Seat Listing with Access Reqirements |
This is your full door list and the best report to use to help you admit patrons into your event
|
Door List + Access Notes
|
|
Ticket Sales By Concession Cumulative |
This report shows the ticket sold quantity and value by concession. It also contains the cumulative count and value for each concession across the selected period.
|
Track your sales by day |
|
Ticket Sales By Event Cumulative |
This report includes all local and remote tickets sold, reserved and issued in quantities, broken down by concession.
|
Cumulative ticket sales by event |
|
Ticket Sales Per Day Cumulative |
Shows the ticket sold quantity and value, breaking down the Full Price sales and Complimentary sales quantity. It contains some statistical columns such as the percentage of value sold for each day against the total sold across that period, and the cumulative count and value through each day of that period.
|
Cumulative ticket sales by day
|
*Reports highlighted in bold are the recommended reports to pull.
Schedule Ticketing Reports
In your Red61 reporting suite (Manage My Tix), you have the ability to schedule your ticketing reports.
In an effort to sell as many tickets to your show as possible we will be selling right up to your performance time, therefore more than ever it is important to know how to schedule and receive your reports.
Where to start
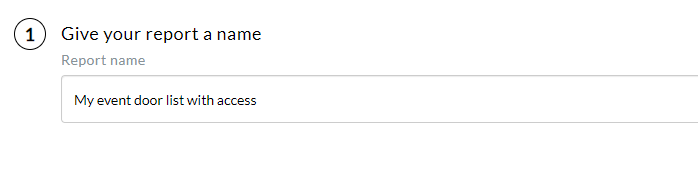
Head to New Report and select your desired perameters. Once you have selected your desired parameters, click Save for later. After you have clicked save, you will be prompted to give your report a name. We suggest including the type of report in this name. After you have typed a name, click save report.
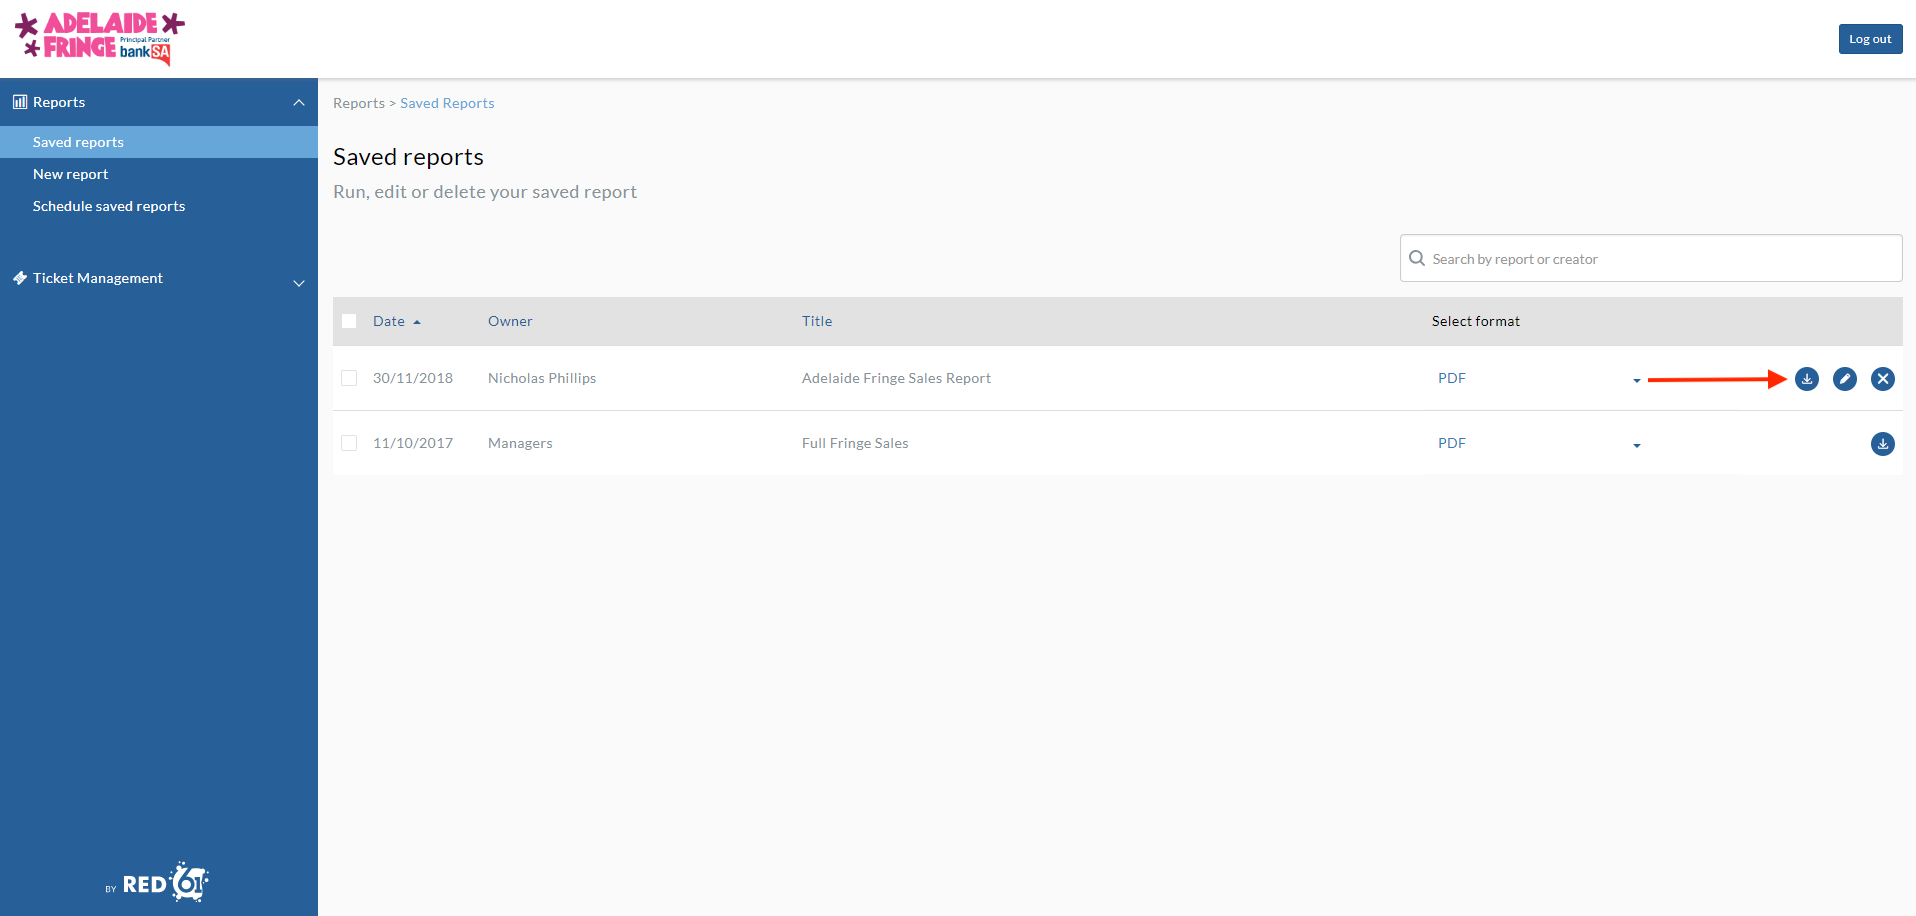
Saved Reports
Now that you have created and saved a report type, it will be displayed in the Saved reports dashboard. From here, you will be able to download, edit or delete your reports.
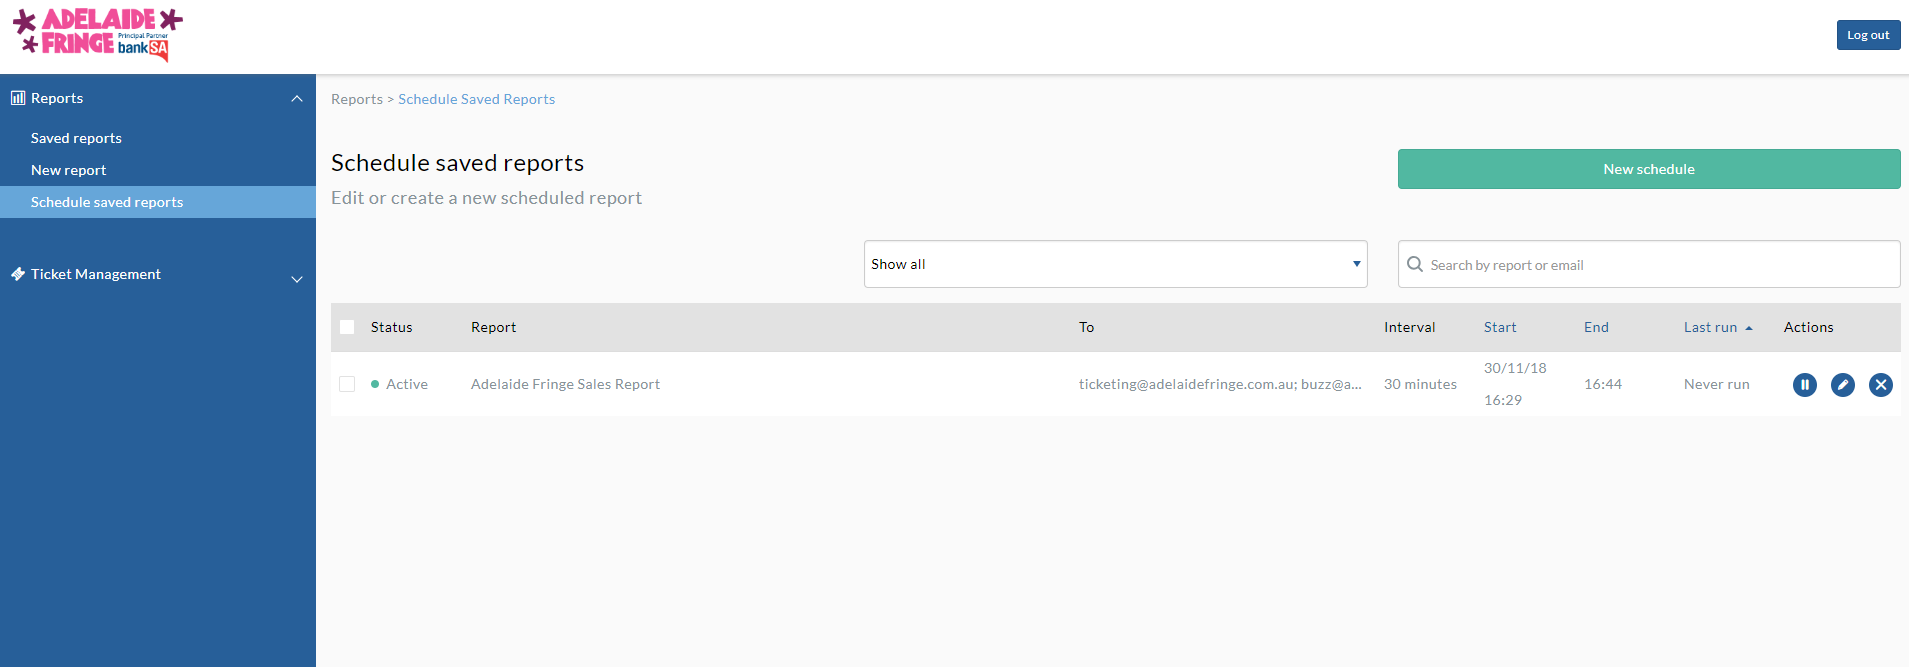
Schedule Saved Reports
We recommend scheduling your report for 1 hour prior to showtime, in intervals.
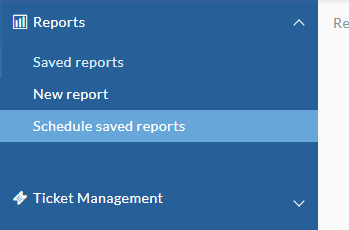
1. In the left-hand bar click Schedule saved reports
Then Click New Schedule.

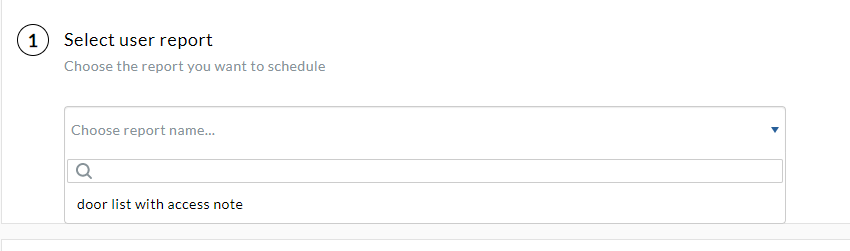
2. Select user report
All saved reports will show up in this drop-down menu
For Schedule Door Reports
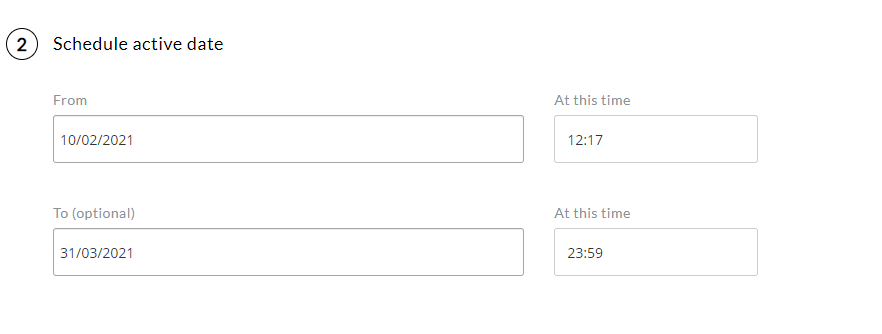
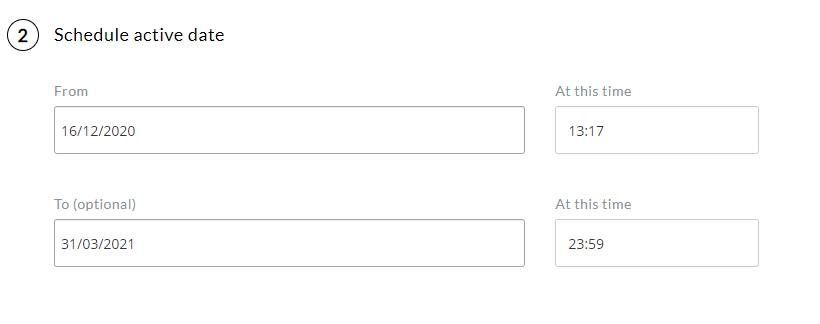
1. Schedule Active date
Make your schedule active dates the dates of your Fringe season.
2. Schedule Runtime
Schedule Runtime to when you would like to receive your report for this session.
Eg: My event is on at 7:00 pm so I have scheduled my report to send at 6:00 pm and then to update every 15 minutes. - you can edit these parameters to what is suitable to your specific door requirements.

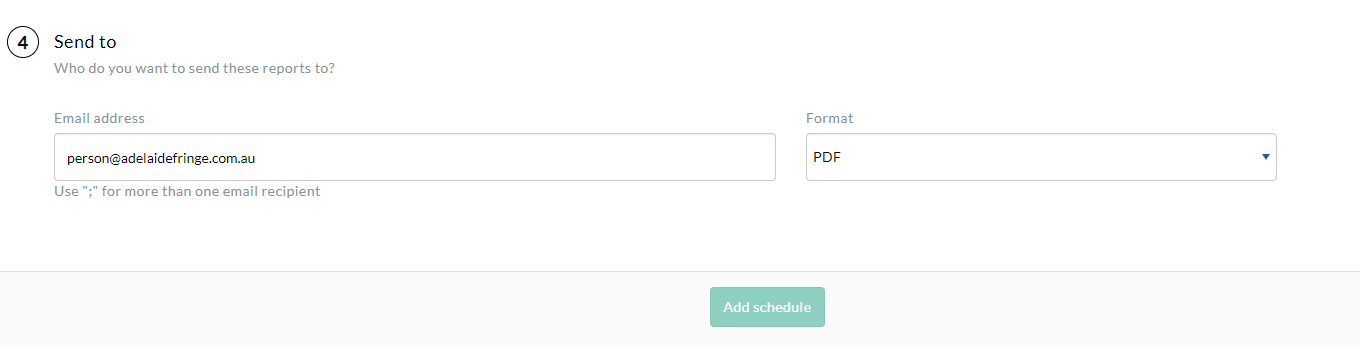
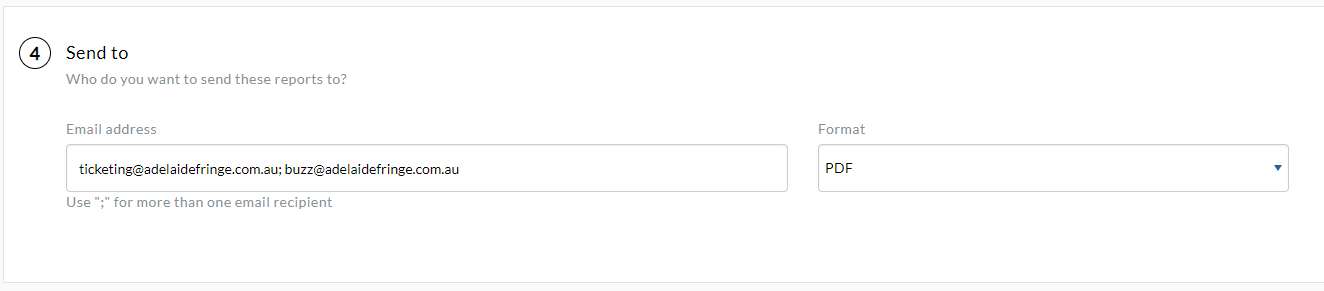
3. Send to
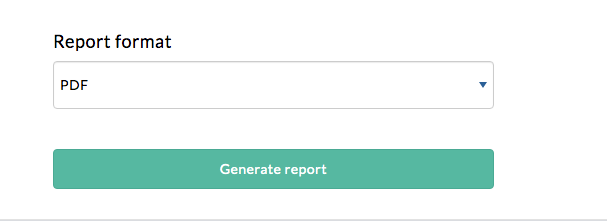
Enter the email addresses of who you want this report to go to. If you are sending it to multiple people use ; in between each email address. Choose your format, for a door list we usually use PDF you can use Comma Separated Values if you need to be able to filter this spreadsheet.
Click Add Schedule.
Once you have created your first scheduled report, it will show up on your Schedule saved reports dashboard. From here, you will be able to pause, edit or delete a scheduled report.
For Periodic updates prior to Fringe
1. Schedule active dates
Input the time period you would like the reports to be sent (date to and from). This is the period of time that these reports will run for.
eg: I want my reports to start running from now until the end of the Adelaide Fringe.
4. Schedule Runtime
This is the time the report will be sent. For example:
- If you would like it to be sent once a day at 3pm - set the Start runtime as 15:00, leave the End runtime blank and set the Run Time Interval as Daily.
- If you would like it to be sent on the hour every hour between 9am and 5pm - set the Start runtime as 09:00, set the End runtime as 17:00 and set the Run Time Interval as 1 hour.

5. Send to
Input the recipients' email addresses that should receive this scheduled report. You can input more than one by separating them with a semi-colon.
Once you are happy with your selection, click Add schedule.
Once you have created your first scheduled report, it will show up on your Schedule saved reports dashboard. From here, you will be able to pause, edit or delete a scheduled report.
If you have any questions about your sales reports, please contact ticketing@adelaidefringe.com.au